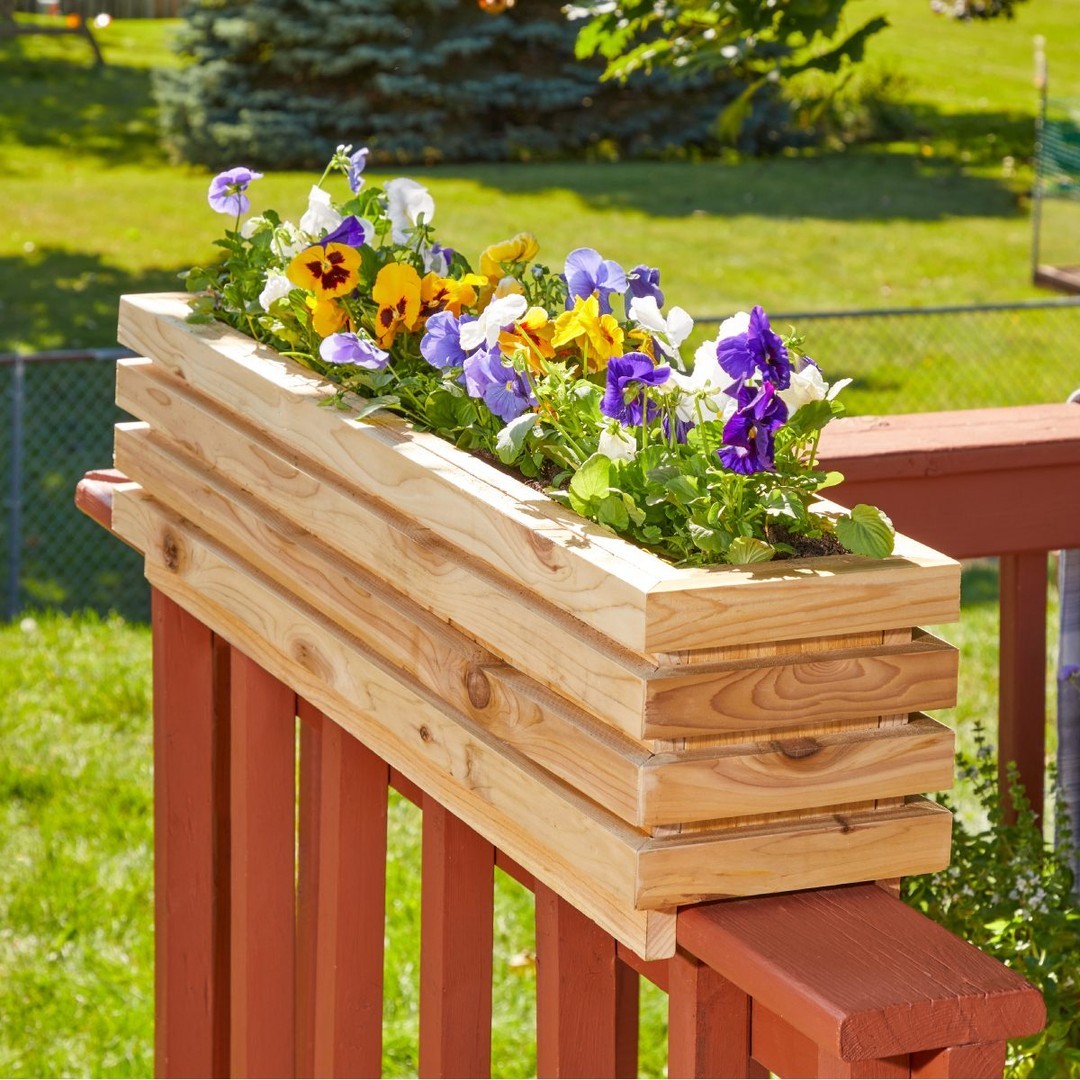
Revitalize your outdoor space by introducing a touch of nature with this simple deck railing planter box. While utilizing leftover cedar wood from a previous deck project, this DIY endeavor is perfect for beginners and requires only basic woodworking skills. In less than a day, you can craft a charming railing planter that enhances aesthetics and provides a convenient space for various plants.
Essential Tools for Crafting a Planter
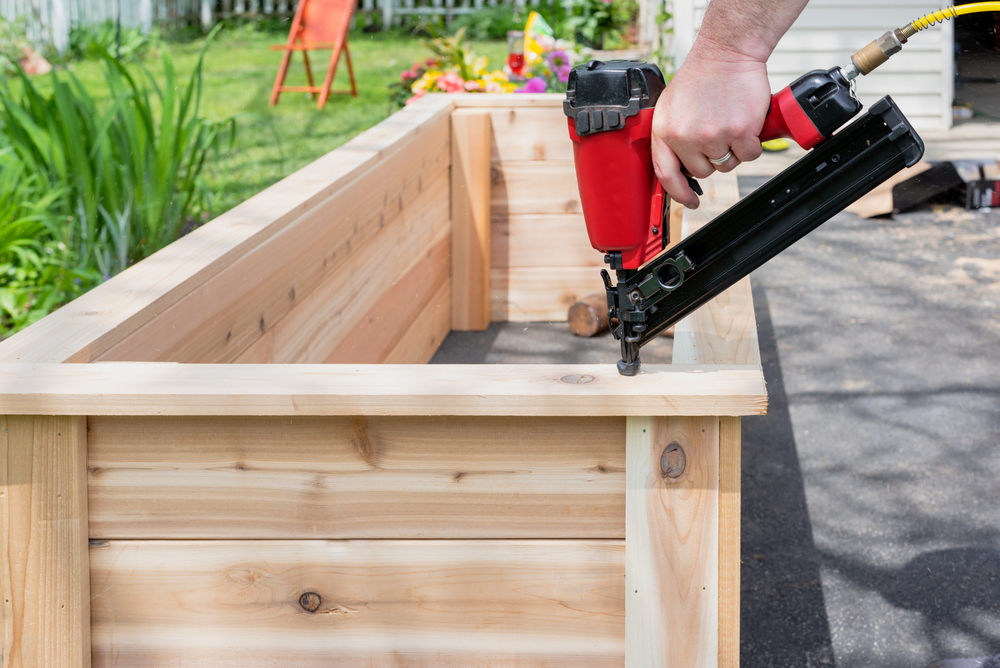
Equip yourself with essential tools — an 18-gauge nail gun, a ⅜-inch drill bit for precision, sturdy clamps for stability, a reliable drill/driver for efficiency, a foam brush for polyurethane application, a miter saw for precision cuts, a speed square for accurate angles, and a tape measure for dimensions.
Additionally, you’ll need high-quality exterior semi-gloss polyurethane, durable bran nails for secure fastening, and cedar wood boards in various dimensions for constructing the planter box. This comprehensive toolkit ensures you’re ready to breathe life into your deck railing planter, seamlessly blending functionality and aesthetic charm in your outdoor space. Here’s everything you need.
A Step-by-Step Guide to Building
Materials:
- 18-gauge nail gun
- ⅜-inch drill bit
- Sturdy clamps
- Reliable drill/driver
- Foam brush for polyurethane application
- Miter saw for precision cuts
- Speed square for accurate angles
- Tape measure for dimensions
- High-quality exterior semi-gloss polyurethane
- Durable bran nails
- Cedarwood boards in various dimensions

Instructions:
- Begin by precision-cutting the planter box pieces to specified measurements.
- Move into the assembly phase, securing the box firmly with the precision of a nail gun.
- Artfully cut slats with a 45-degree miter on each end, ensuring seamless alignment with the design.
- Attach the slats evenly as the planter box takes shape, creating a visually appealing pattern.
- Drill some drainage holes, which is a crucial step for functionality.
- Finally, add the finishing touch. Apply two coats of exterior polyurethane for a protective layer, enhancing the longevity and resilience of your deck railing planter.
Improve and Protect the New Design
You can extend the life of your deck railing planter with a strategic protective measure. Elevate the planter, creating a slight distance from the deck railing to act as a barrier against potential moisture-related issues. Various materials, including decorative pebbles, composite shims, or purpose-built plastic feet, can serve this purpose.
Ideal for those seeking to maximize gardening space or add a burst of color to their deck, this DIY railing planter project combines functionality with aesthetic appeal. Embrace the joy of gardening without sacrificing valuable floor space, and let this project transform your outdoor haven into a flourishing oasis.