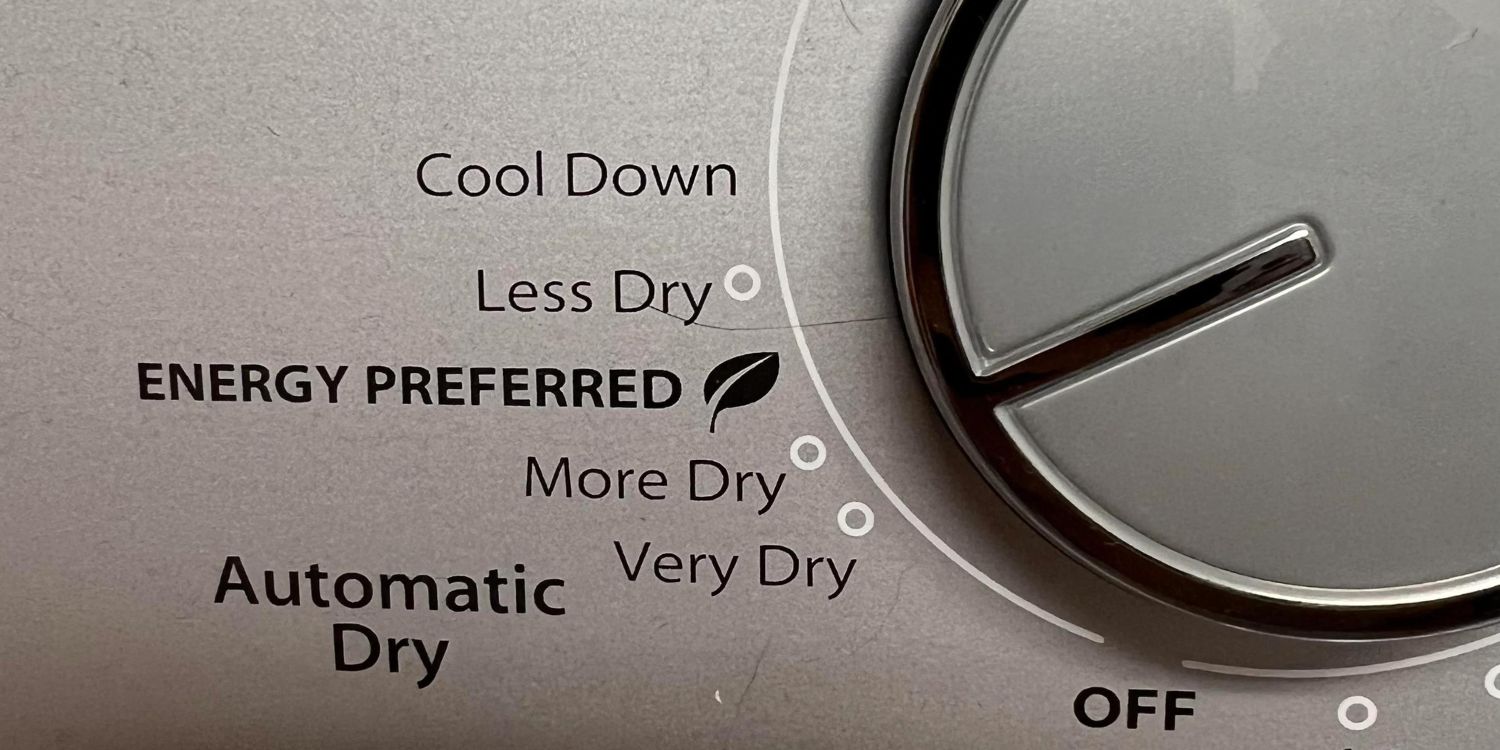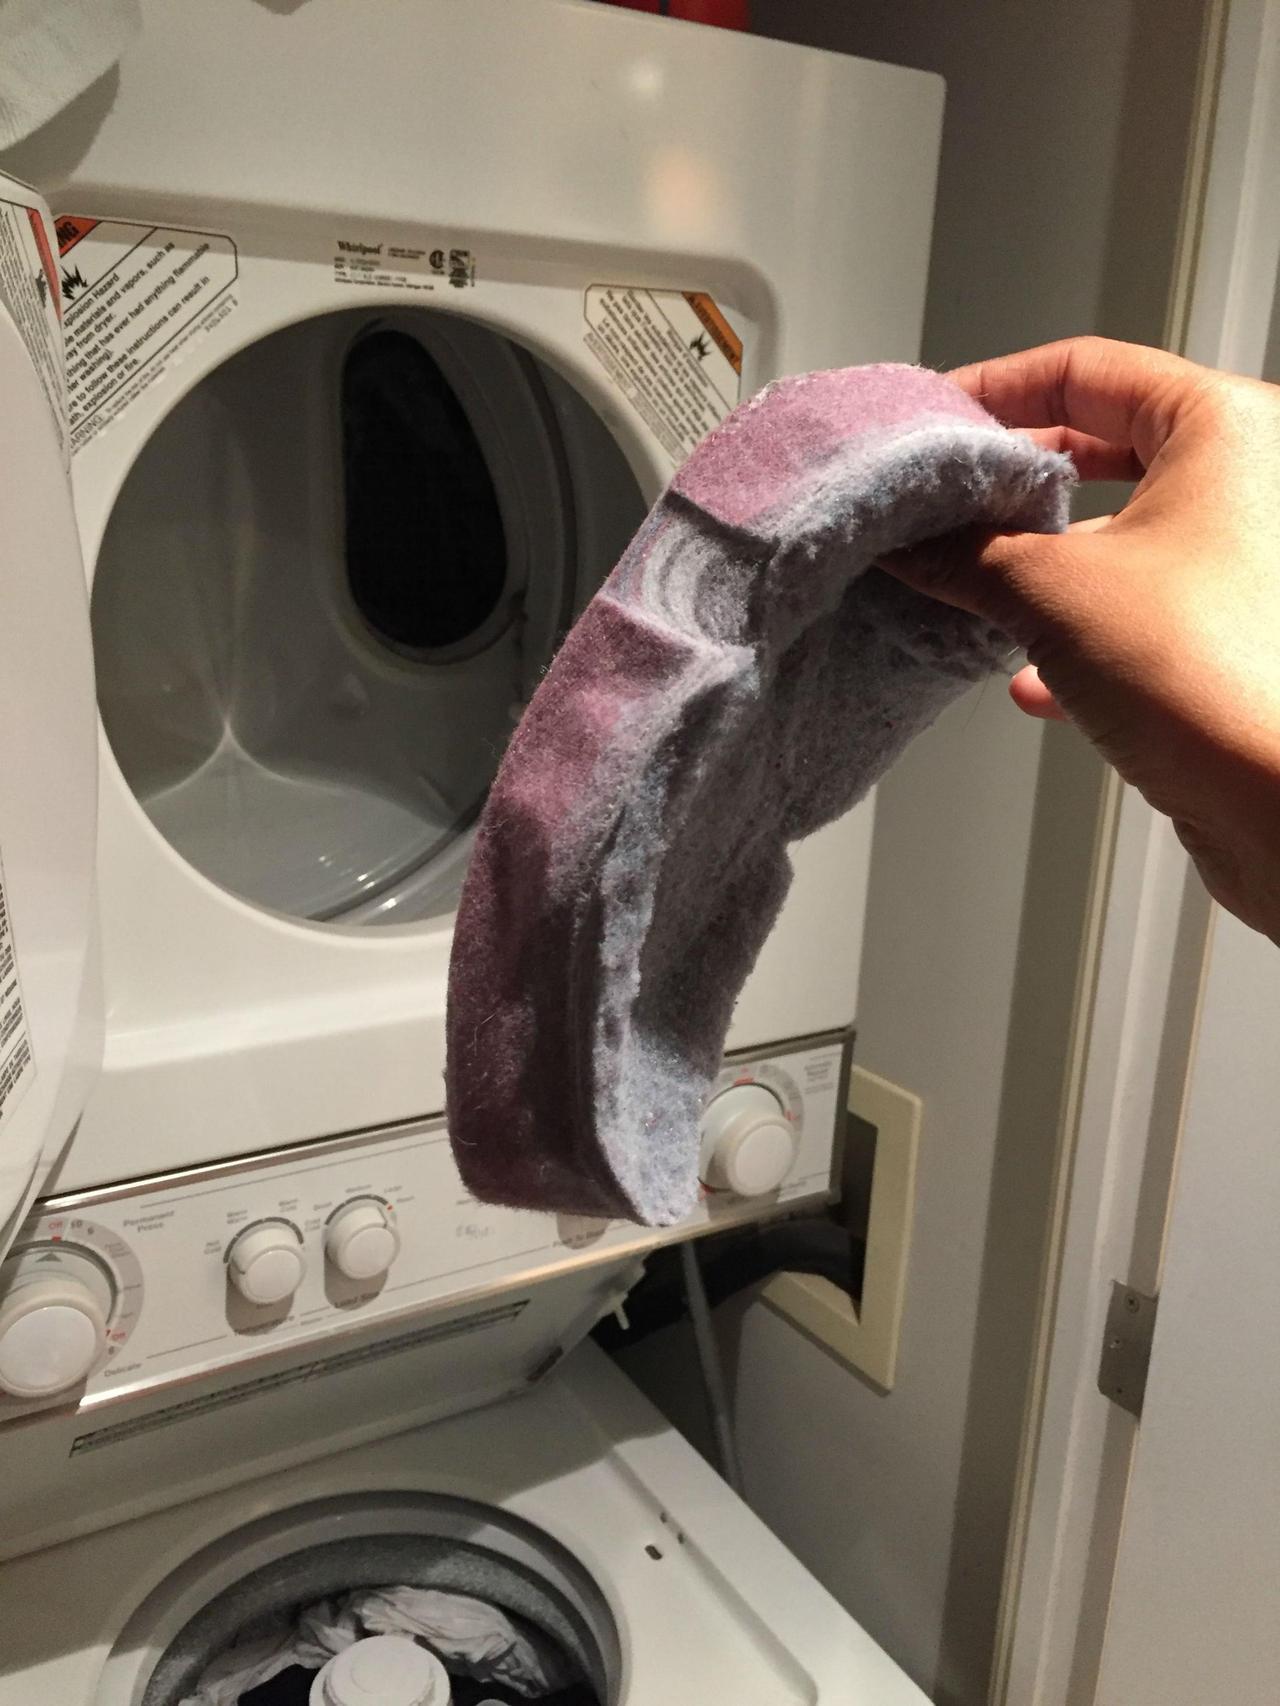
When you put your appliance on the Auto/Sensor Dry function, a moisture sensor is responsible for detecting when the clothes reach the desired dryness and subsequently turn off the unit. Occasionally, the sensor may become dirty, leading to malfunctions and inefficiencies, wasting time and energy. Fortunately, this issue can be easily fixed.
What’s Needed to Fix the Dryer
All you will need to fix the problem is a wire brush, alcohol wipes, and fine sandpaper. Dryer sheets can cause a waxy film on the metal strips inside your dryer’s sensor, affecting its function. Regularly cleaning with a wire brush, alcohol wipes, and fine sandpaper will ensure optimal performance.
#1: Finding and Cleaning the Moisture Sensor!
You will need to examine the dryer drum for two adjacent metal strips, each approximately four inches long. Then, you will need to check behind the plastic housing containing the lint filter or on the back wall of the drum for the sensor’s placement.

Wipe the two metal strips with the alcohol wipe 3-4 times until they shine. Or you could use the wire brush to rub the two metal strips until they become shiny. You can also use sandpaper and lightly rub the strips (400-grit or above).
#2: Test the Clean Sensor, or Call the Pros
Set your dryer to Auto Dry. Dampen one cotton shirt, ensuring it is moist but not excessively wet. Place it in the dryer and initiate the setting. Return after 30 minutes to verify the garment is dry and the dryer has automatically turned off. If the machine is still running, repeat the cleaning and testing process.
Locating the sensor can be challenging, depending on your dryer model. If you have a problem finding it or fixing it, it is advisable to contact a professional dryer repair technician.